A Beginner's Guide to DS Photography
Starting with the DSi and lasting the entire 3DS family of consoles, the DS featured built-in cameras with their own respective apps, allowing users to take pictures with their handhelds for use in some games or for viewing in the camera app. I have a hobbyist interest in photography, but I do have particular tastes when it comes to aspect ration and resolution. Because of this, I've used my DSi as a camera for over two years now, and though its size has led to it being a backup camera with my iPod Touch 4th gen as my main, DS photography is a really wonderful hobby and a great way to take pictures, in my humble opinion, and I wanted to share a little of what I've learned in a quick beginner's guide.
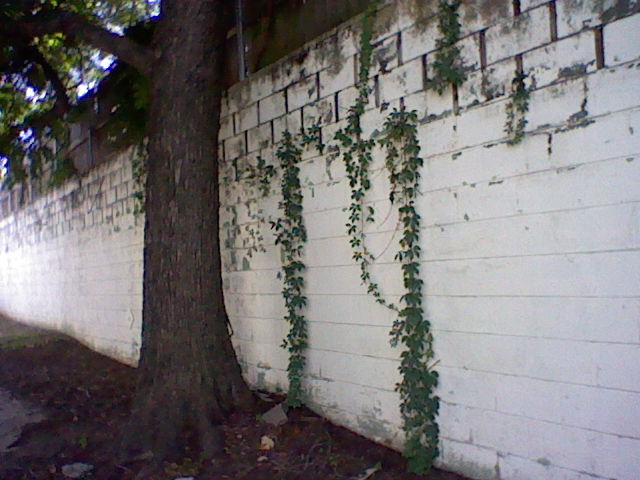
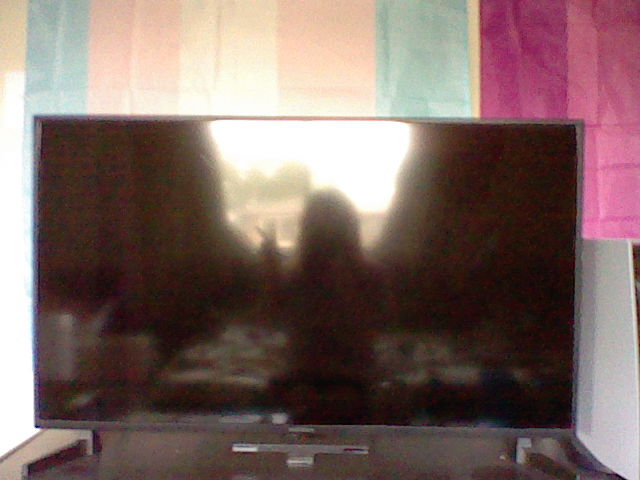
First of all, let's talk image quality. Take a look at these two pictures here.


These images are both in 480p (640 x 480 pixels) and were taken of the exact same scene, seconds apart from each other, with the exact same on-screen framing, but one was on 3DS and the other was on DSi. Can you tell which is which?
If you said the 3DS image was the one on the left, you'd be wrong. The left image was taken on DSi, and the right was from 3DS. The quality of these images can be misleading, and everyone I asked said that they thought the higher-quality image was from the 3DS. So what gives? The 3DS came out a year after the DSi, they should at least take the same quality picture, right? Well, the 3DS does some unique and perplexing things with it's camera app that causes it to be the way that it is. For starters, despite the fact that I framed the two photos the exact some on the screen before taking the shot, the 3DS image comes out with a more pulled-back shot that shows a lot more of the top and sides. This has to do with the fact that even though the 3DS shows the entire top screen for the camera preview, it takes photos in a 4:3 aspect ration instead of the widescreen aspect ration that the top screen is in. This means the resulting photo with capture additional details on the top and sides that aren't visible until you export the photo from the system. Additionally, 3DS Camera will always take photos in stereoscopic 3D, even if the system itself can't even display a 3D image. Because of this, the system sacrifices resolution and quality in order to retain more data per image, resulting in the fuzzier, darker, gringier image quality of the 3DS photo.
3DS Camera only offers two real advantages over DSi Camera, and those are the image controls and video support. By flipping the little lever on the screen, you can access image controls that allow you to manually edit things like what kind of "film" you use (color, BW, sepia, negative, etc.) and things like brightness and saturation. 3DS Camera also allows you to record video, but only up to 10 seconds per clip, which is unbelievably restrictive. Maybe you could record your next hit Vine?
Overall, I prefer using DSi Camera for my photos instead of 3DS Camera, and I don't feel that it's too far-fetched to say that it's the better camera of the two. 3DS Camera is an app with a lot of superfluous features, and overall lower image quality. Obviously you should work with what you have if you want to do DS photography, but my recommendation is to get a DSi or DSi XL. On that note, what's the keep in mind? What are the basics?
Well first and foremost, you're gonna want an SD card for your system. Photos taken with the DSi Camera app will be saved to the system memory automatically, but in order to export them to your computer and thus anywhere else, you have to go into settings and choose to copy them to the SD card, power off your system, then insert the DS card in your computer to access the photos*. However, if you just want to get started right away, you can do that since the photos are saved to the system, just make sure to get an SD card if you want to start backing up and sharing those photos of yours.
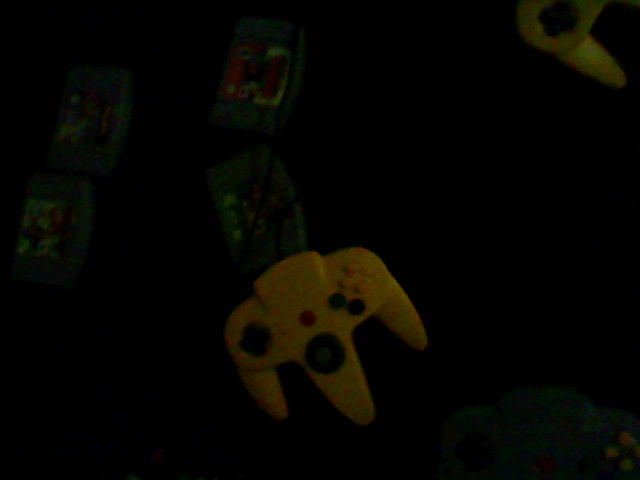
Second, the DSi doesn't do well with darkness. The camera is a little limited, and you're probably gonna end up with untintentional lens flares from any lights in a dark environment, as well as having a hard time making out shapes in dim areas.
Also worth noting, there's no zoom. However the image looks on the screen, that's what it'll be. The only nuance here is that the DSi saves photos at twice the resolution of the DSi screen in order to hit 480p. This is done so that you can zoom in when viewing them in DSi Camera without loosing quality. It's a very clever way to do this, and it means that DSi photos are surprisingly quality for the system they were taken on, but this isn't a zoom by any means and so you'll have to do without.
One thing the DSi does have is a front-facing camera! This means you can take selfies with your DSi the same as you take other photos!

You can hold the camera in any orientation you want, and all you have to do is rotate the image in a photo editor after you export it. This can be done with any standard image viewer that features editing tools, like IrfanView.
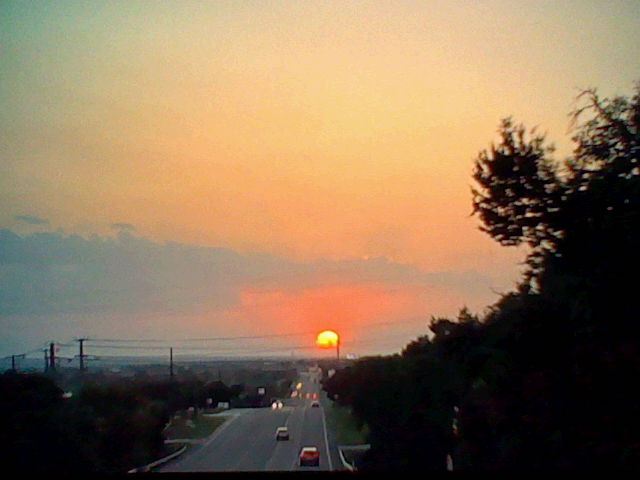
Beyond that, your only limit is your imagination! The DSi photo editor has some simple filters and lenses you can use to take some whimsical photos, and in general takes gorgeous 480p photos that you can truly do anything with. I'll include some examples from my DSi portfolio below, if you have a DSi then I highly encourage you to start snapping pics everywhere you go! It's a great way to capture memories, and I also use it as a sort of travel log where I take at least one picture at each new place I travel with my DSi. Once you export them, the photos you take are great and can be used anywhere. I've posted some of mine on my Tumblr, as well as my site here (though like I mentioned before, I have pivoted to primarily using my iPod Touch since it's more pocket-sized, my DSi XL is moreso for specialty situations and as a backup). If you post any DSi photos on Tumblr, feel free to @ me on them, I'd love to see what people are posting!
Until then, take care!
~ Alex Amelia Pine